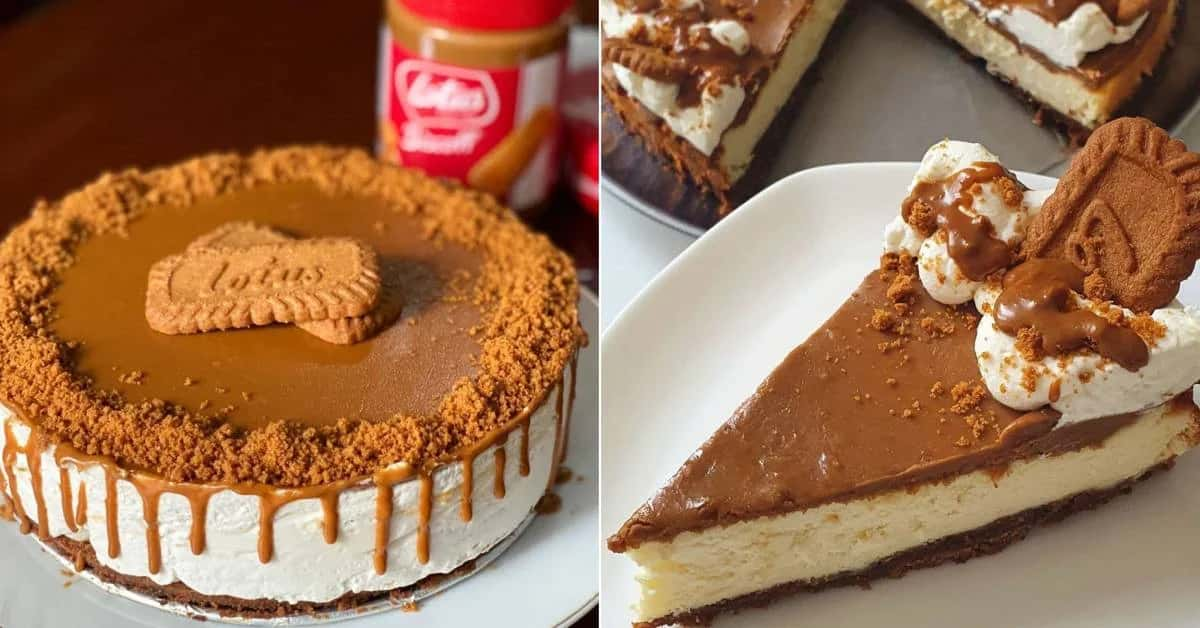
If you think you’re imagining the recent wave of Lotus Biscoff cheesecake posts on your social media, you’re not! This popular recipe is all the craze right now and as huge dessert lovers ourselves, we’re here to share how you can easily create this delicious looking cheesecake at home, plus it doesn't even need an oven ?
So whether you’re celebrating a special occasion or just wanting to treat yourself to something nice, this no-bake Lotus Biscoff cheesecake recipe is perfect for you.
Note: You can find Lotus Biscoff biscuits on Shopee Malaysia and Lazada Singapore. For Lotus Biscoff spread, you can find it here onShopee Malaysia and Shopee Singapore. Do note that due to the current increased demand, the items may be sold out online. We suggest following the seller or adding them to your wishlist so you’re notified as soon as it’s back in stock!
Ingredients
For the biscuit crust
- 3 ½ cup Lotus Biscoff biscuits (fine crumbs)
- ⅓ cup unsalted butter (melted)
For the cheesecake batter
- 2 ½ cup cream cheese (room temperature - this is important!)
- ¼ cup sugar
- 1 ¼ cup whipped cream
- 1 cup Lotus Biscoff spread
- 1 tsp vanilla essence
For the topping
- Lotus Biscoff biscuits (crushed and/or whole)
- Lotus Biscoff spread
Equipment
- 8-inch round springform pan
- Stand or hand mixer
- Food processor (or a rolling pin and ziploc bag for crushing the Lotus Biscoff biscuits)
Directions
- Lightly grease springform pan with butter and line the bottom with baking or parchment paper.
- For the biscuit crust, add Lotus Biscoff biscuits to a food processor and blend until they become fine crumbs. If you have don't have a food processor, simply put the biscuits in a ziploc bag, seal and crush them using a rolling pin.
- Pour melted butter over the crushed biscuits and blend again until the mixture has a wet sand-like texture.
- Pour the mixture into the pan and press down gently using the back of a spoon, forming an even layer. Pop the pan in the fridge.
- Prepare the cheesecake batter by adding cream cheese, sugar and vanilla to a large mixing bowl. With a stand or a hand mixer, beat until smooth and creamy.
- Add ¾ cup of Lotus Biscoff spread and resume beating until smooth.
- Add cream and beat until the mixture becomes thick and can hold its shape.
- Add remaining ¼ cup of Lotus Biscoff spread and only beat briefly so that you can still see some swirls of the spread in the mixture.
- Take the pan out of the fridge and pour the cheesecake mixture on top of the biscuit crust. Smooth the top and set in the fridge for at least 6 hours (or even better, overnight).
- Once properly set, remove the cake from the pan and decorate it with toppings. This is where you can let your imagination and creativity run wild! But if you need some ideas, pour the Lotus Biscoff spread over the top of the cake (don't worry about letting it spill over the edge). Then sprinkle some crumbs of crushed Lotus Biscoff biscuits along the edges and place a biscuit or two in the centre of the cake.
Check out this video recipe below as a guide to making your very own Lotus Biscoff cheesecake at home ?
Note: The video recipe uses a non-halal vanilla extract. You can substitute it with vanilla essence instead.
Tips & tricks:
- It's better to use a springform pan so you can easily release your cheesecake without ruining it.
- Make sure your cream cheese is at room temperature so you can beat it well and get rid of lumps.
- Use full fat cream cheese in block form, not the cream cheese spread.
- Let your cheesecake set for 6 hours to overnight. While this recipe may not include gelatine like some others do, as long as you beat your mixture well, the whipped cream will help the cheesecake to hold its shape.
Now that you've got your next sweet treat covered, it's time to get busy in the kitchen and whip up this fantastic no-bake Lotus Biscoff cheesecake at home! ?
Love cheesecakes just as much as we do? Then you should try baking this:


