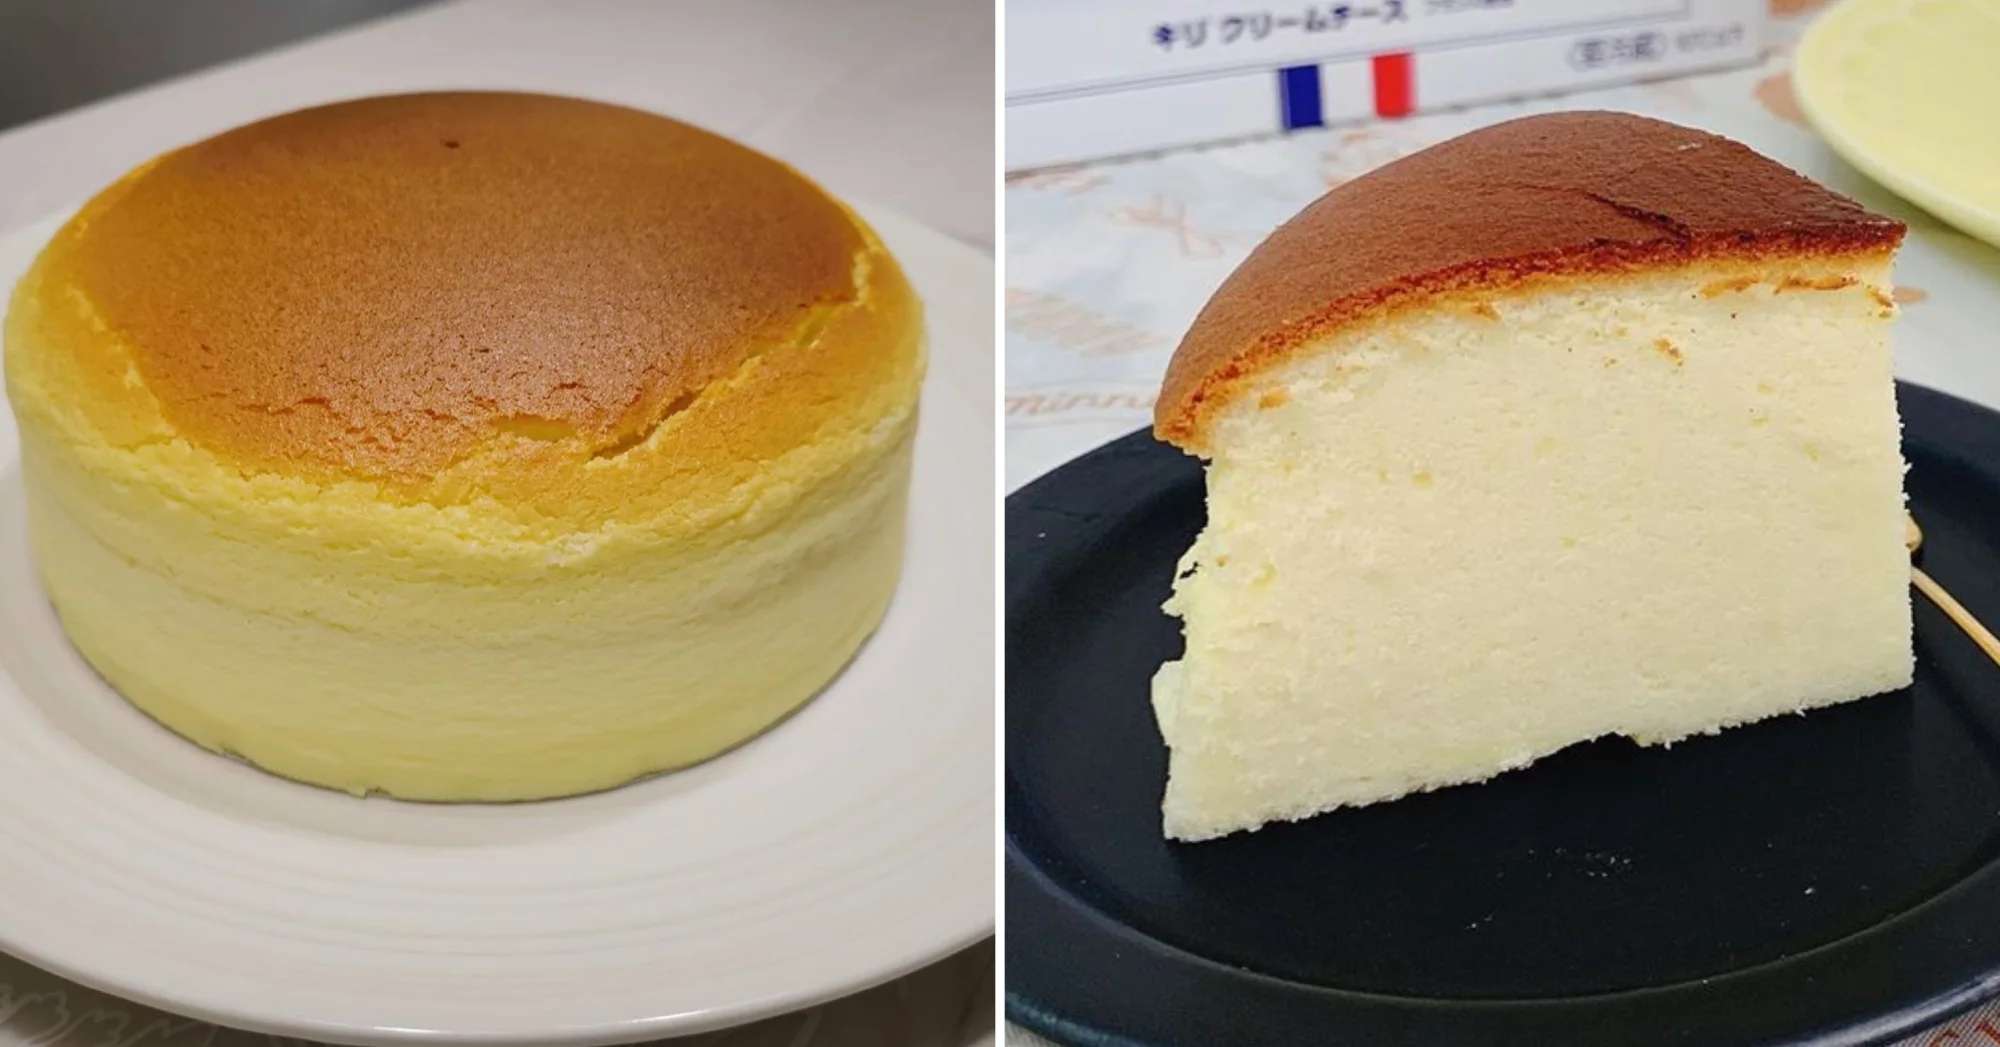
Japanese cheesecake is a light and fluffy variation of cheesecake that's also known as Japanese cotton cheesecake or souffle cheesecake. What sets it apart from more traditional, western-style cheesecakes is the fact that it doesn't have a graham or digestive biscuit crust, with the egg whites separated and whipped until it forms soft peaks before being folded into the batter, resulting in a super light, airy texture. If you've ever wanted to make Japanese cheesecake, we've got a great halal Japanese cheesecake recipe for you to make at home!
Ingredients
- 250g cream cheese, room temperature
- 6 egg, cold
- 140g caster sugar, divided
- 60g unsalted butter
- 100 ml whole milk
- 1 tbsp lemon juice
- 2 tsp lemon zest
- 60g cake flour (or superfine flour)
- 20g cornstarch
- ¼ tsp salt
Equipment
- Stand or hand mixer (for whipping up the egg whites)
- 8-inch round deep cake pan (at least 3 inches in height)
- Larger baking pan or dish that you can place the 8-inch pan into
Directions
- Pre-heat oven to 200 degrees Celsius. Place your oven rack at the bottom-most position in the oven.
- Grease and line the bottom and sides of the cake pan. If you're using a springform pan, wrap the bottom of the outside of the springform pan with at least 3 - 4 sheets of aluminium foil (to prevent water from seeping in, as we'll be baking the cake in a water bath).
- Crack your eggs and separate your egg whites and egg yolks.
- In a heatproof large mixing bowl, add the cream cheese, 70g of sugar, milk and butter.
- Heat some water in a small pot until it comes to a boil, turn down the heat and let it simmer. Place a heat-proof bowl on top of the pot (i.e. make a double-boiler). Whisk the ingredients until melted and well-combined. Remove from the heat.
- Add the egg yolks, 2 at a time, mixing well to incorporate after each addition.
- Add the lemon juice, lemon zest and salt and mix in.
- Sift in the cake flour and cornstarch, mix in.
- In the bowl for your mixer, add the egg whites (make sure the bowl is clean and free from any trace of grease!). Beat on medium-low speed until it starts getting foamy (about a couple of minutes). Add the cream of tartar and continue beating the egg whites at medium speed until they start to thicken. Add the remaining sugar in gradual amounts while continuously beating the egg whites. Once all the sugar is added, bring the speed up to high and beat the mixture until soft peaks forms (not until super stiff like you would if you're making meringue - the mixture should be able to hold its shape but the peaks should flop over).
- Add ⅓ of the egg white mixture into the batter and fold in gently (you can use a whisk, metal spoon or spatula, but the key is to do it slowly and gently, so as not to deflate the egg whites). Repeat with the remaining egg white mixture, adding ⅓ at a time.
- Pour the batter into the cake pan. Tap the pan a couple of times on the counter to remove and air bubbles.
- Place the filled cake pan into the larger pan (place a kitchen towel in the larger pan before putting your filled cake pan into it, to prevent it from sliding around). Place the pans in the oven on the bottom rack. Pour hot water from a recently-boiled kettle into the large pan, filling it up until it about an inch high. Bake for 18 minutes, then turn the heat down to 140 degrees Celsius and continue baking for 30 minutes. Turn the oven off, and leave the pans in the oven with the door closed for 30 minutes. Remove the cake pan from the water bath, return it to the oven, and let it cool for another 30 minutes with the oven door left slightly ajar.
- Remove the cake from the pan and let cool completely before chilling in the fridge for a couple of hours before serving.
Japanese cheesecake is the perfect treat to enjoy at home alongside a cup of coffee or tea, and its light and fluffy texture will have you coming back for more ? Time to give this recipe a go and make it for yourself at home!


